


Wall Graphics
$0.01
Ever wanted to splash a favourite photo all over your walls, or design something that’s completely you and see it supersized? Our custom wall graphics are built to make your big ideas happen. Just upload your image or design and we’ll print it on a clever self-adhesive material that looks and feels awesome, is super easy to put up and won’t damage your walls. Easy.
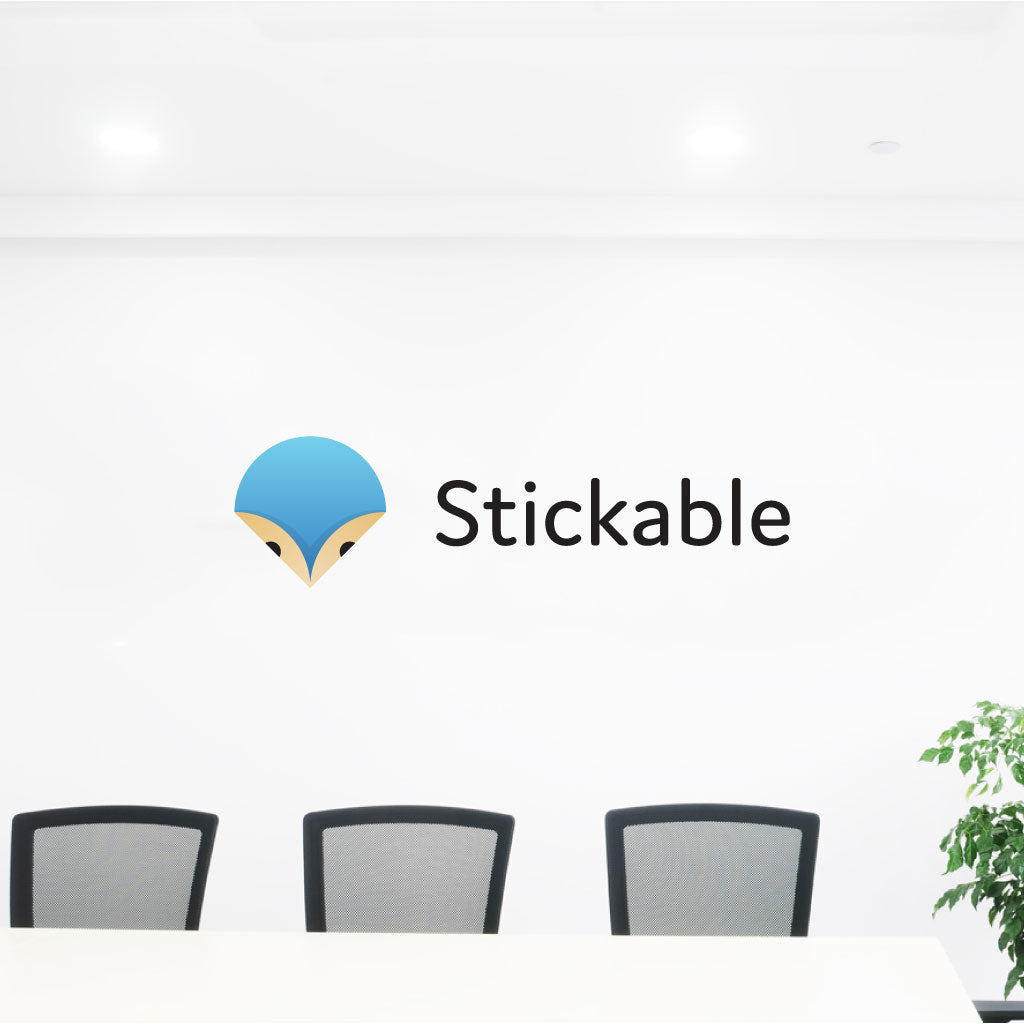
Make your office walls come to life with our wall graphic stickers.
Step 1: Choose your size
Select the maximum size your transfer sticker will fit within. Your design will be cut from premium vinyl and finished with a clean, background-free silhouette using transfer tape — perfect for lettering, logos and detailed shapes.
Step 2: Upload artwork
Upload your artwork with clear, solid lines. Vector files work best for transfer stickers, but high-resolution PNGs also work. We prepare your cut lines to ensure the vinyl lifts cleanly and accurately during application.
Step 3: Approve your proof
Review your digital proof showing how the vinyl will be cut and how the transfer tape will align with your artwork. Request adjustments until everything is perfect — nothing goes to print until you approve it.
Step 4: Fast, free shipping
Your transfer stickers are cut with precision, masked with high-tack transfer tape, and shipped quickly with free delivery. Premium quality and fast turnaround every time.
❓ FAQs About Custom Transfer Stickers
What’s the difference between transfer stickers and die cut stickers?
Transfer stickers are made from individually cut vinyl pieces held together by a clear transfer tape. You apply the sticker, peel off the tape, and you’re left with a clean, background-free design — perfect for logos, lettering, and minimalist artwork.
Die cut stickers are printed onto a single piece of vinyl and cut to the shape of your design. This allows for full-color artwork, gradients, small details, and illustrated designs.
- Transfer Stickers: No background, cut-out vinyl; ideal for clean logos and text.
- Die Cut Stickers: Full-color printed vinyl; ideal for detailed or illustrated designs.
Do these transfer stickers have branding on the backing paper?
No. All Stickable transfer stickers come with unbranded, blank backing paper for a clean, professional presentation.
Are these transfer stickers waterproof?
Yes! Our vinyl transfer decals are fully waterproof and weatherproof, making them perfect for indoor or outdoor use.
Will they stay on after washing?
Absolutely. These stickers can handle repeated washing — including on water bottles, mugs, and cars — without peeling or fading.
Do you offer custom sizes?
Yes — every sticker is made custom to your exact dimensions and design.
How long do they last outdoors?
Our premium vinyl typically lasts 3–5+ years outdoors, depending on sun exposure and surface conditions.
What surfaces do transfer stickers work best on?
They adhere best to smooth, clean surfaces such as glass, metal, plastic, laptops, vehicles, storefront windows, and finished wood.
🪄 How to Apply Your Transfer Sticker
Step 1 — Prep the Surface
Clean and dry the surface so it's free of dust, oils, or residue. A smooth surface ensures the strongest bond.

Step 2 — Position Your Sticker
Place the transfer sticker where you want it, making sure it’s aligned properly before pressing it down.

Step 3 — Apply Firm Pressure
Use a squeegee or a credit card to press firmly across the entire design, removing air bubbles and securing the vinyl.

Step 4 — Peel & Final Press
Peel back the transfer tape slowly at a sharp angle. Press down the vinyl once more to lock it in place.